Monday, December 8, 2014

Tuesday, December 2, 2014

Recreating Art For Private Commissions Part 2


So now I move on with part two of my Audubon re-creation commission. The client was pleased with my charcoal mock up of the pelican and the new tree lines. So with that I went out and purchased a 4ft x 4ft canvas and paints to begin the process.

Step one was to create a warm gray color to help set a specific tone on the canvas. I used white gesso, bone black, and burnt umber. Then I painted the canvas and allowed it to dry.


After an appropriate drying time I was able to start work again. The next stage was to outline the pelican, foreground, and background. This was done with my Prisma projector, 2 H pencil, and small photo copy of the original painting. The original picture was centered in the middle of the canvas and outlined. Then I drew in the newly created areas by hand. 


Then with 2H, 4H, and 8H pencils I filled in the the tonal value needed for this picture. This took a few days and many adjustments to get to where I needed to be. 


After all the tonal value was added and I was happy, then I took the canvas outside to use a clear coat to seal the drawing to the canvas. In my next installment I will show you the painting process. Thanks for reading! 

Saturday, November 29, 2014

Recreating Art For Private Commissions

Recently I was asked to make a painting based on John James Audubon's (April 26, 1785 – January 27, 1851) American White Pelican. The original plate was CCCXI part of The Birds of America. The original is pictured below. I took this commission up as a challenge and an opportunity to try something new. It is fair to note this would not be a exact copy of the original. For instance, it will be a 4ft x 4ft painting in acrylic paint, instead of an oil painting in a rectangle shape. You may notice that in the original painting, the style of the pelican and the background are different. Audubon painted his own birds while another artist painted his backgrounds. Just another challenge. 


First challenge was to make a rough mock up drawing. I had to make a 3ft x 3ft charcoal drawing. In this drawing I had to create tree lines, shore line, and sky lines that connect to the lines in the original painting. Then make approximate rendering of the pelican. After that was done, I took the mock up to the client for approval to start the painting.


Tuesday, October 21, 2014

So Close I Can Taste It!

Hello again followers! I am very close to being done with this project. As you can see I able to layer hair with 4b and 6b pencils, then smooth and reapply pencil to create a layered affect. After that I erased to create highlights in the hair. Also I darkened areas between the bodies with 4b pencils. Now I will show the client and make a few minor adjustments! 


Friday, October 3, 2014

One more lap to go!

It has been a little while since our last post. I know all of you loyal readers want to see more of on going projects. I apologize and will be sure to post more in the coming weeks. I will be attending a few shows that you can come and visit!

After a visit with my good friend and amazing artist Don Stephens. I was able to get back into gear with my commission! Take a look at let me know what you think!


Thursday, September 18, 2014

New Hallween Greeting Card

Hey everyone! If you love Halloween and want to laugh. Stop by my Etsy store and check out our very first Halloween card! This is an over sized post card that includes an envelope!

www.etsy.com/listing/203712476/smooth-frankenstein-oversized-post-card?ref=listing-shop-header-0


Thursday, August 28, 2014

Moving Forward Yet Again


So here we are again. Still moving forward on this family portrait. As I continue on with the smallest child and clothes. I have found that the babies face and clothing edges all need to be softened. So what you see me doing here is taking a sable brush and blending stick to soften all the edges. Remember that children and clothes should have a softer look. Please keep following my post on this and other projects!


Saturday, August 16, 2014

New Techniques New Problems


Just recently I took a two-day illustration workshop at Hussian School of Art in Philadelphia. Our teacher, Scott Kirschner, was kind enough to teach me to stretch Bristol paper. Now I don’t have to store canvas anymore! This way of working has allowed me to paint with acrylics on paper!  Scott also showed us how to plan out an illustration in a better manner than what I was doing. He also taught us how to apply research to help aid in believable details to make a picture more authentic to your objective. After purchasing all that I needed and sending Scott pictures to make sure I was doing it right, I began to work. A big thanks to Scott for all his help and support in this endeavor! Where would we be without people like him that take the time to make sure we understand?

The first step was soaking both sides of the Bristol paper in the tub. Then, the corners were stapled to the board, then the middles, and finally all around. After that, the paper was wavy and need to dry flat overnight. I thought I had done the process wrong until the next morning, when it dried tight as a drum!


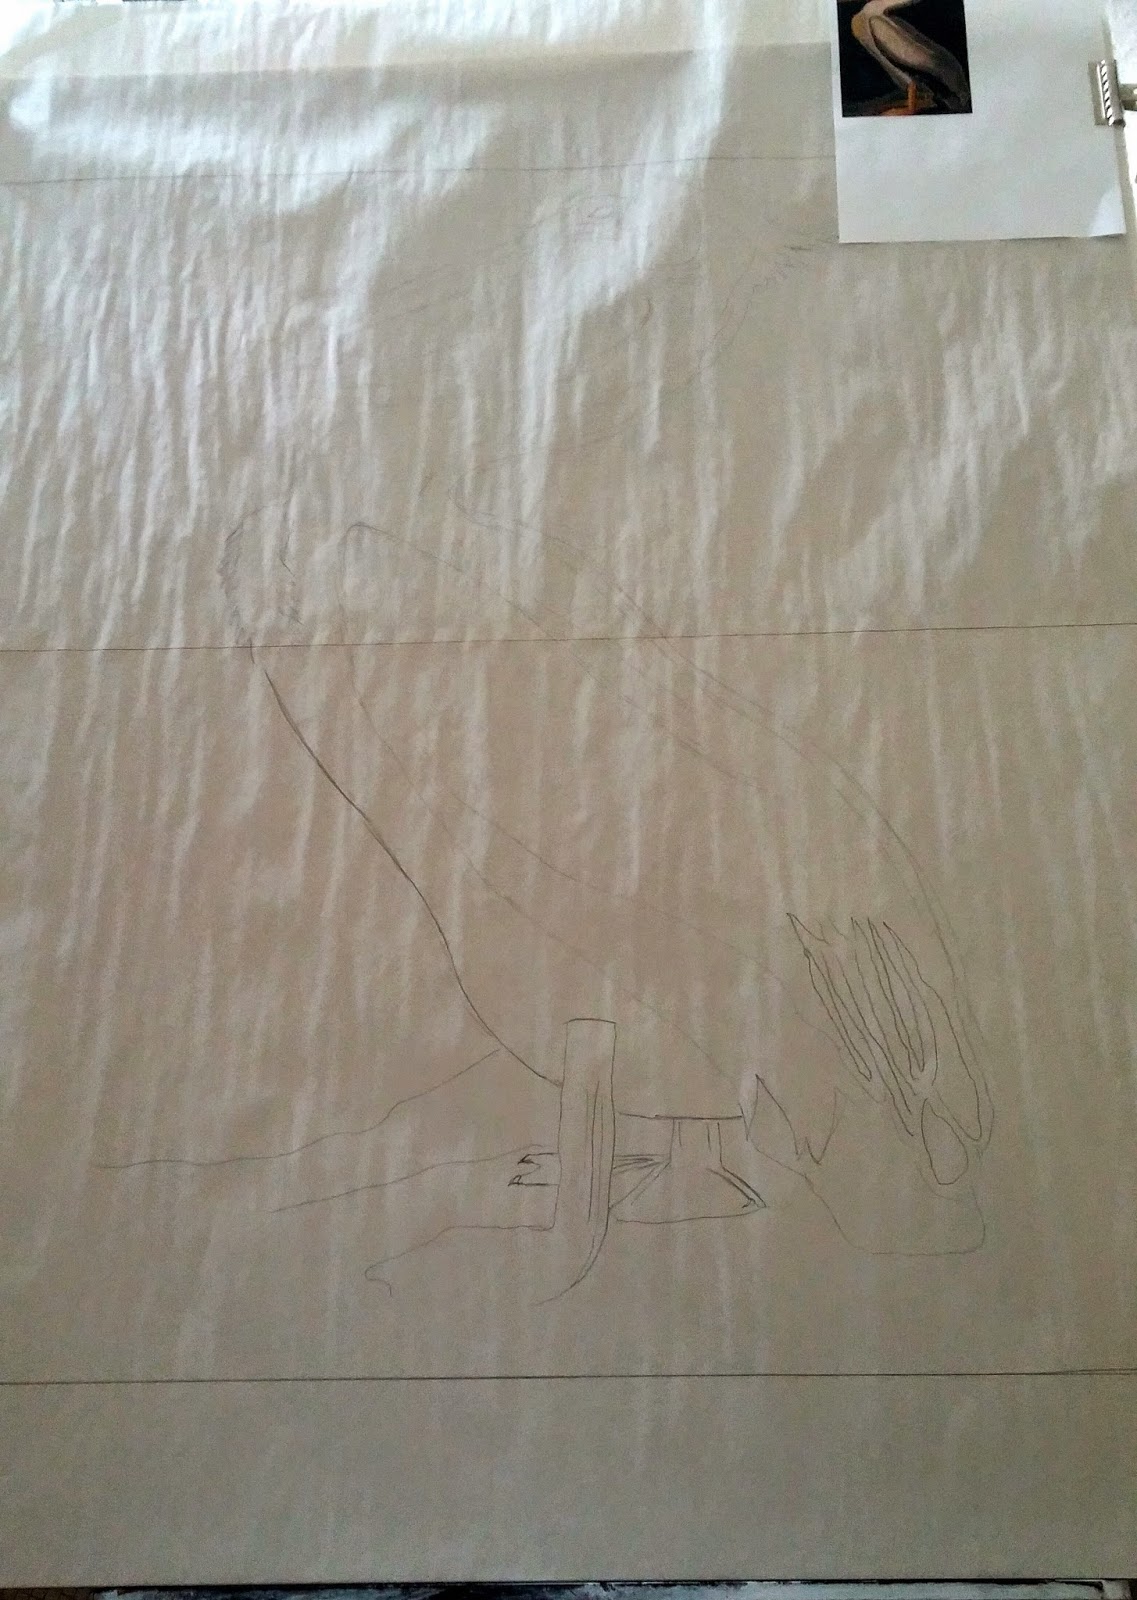
After two coats of medium gray, the first problem arose. I quickly realized that the brush had left textures in the gesso. With that it was more difficult to lay all the needed pencil work accurately. With the help of my projector, I laid in all the pencil lines where they should be. Still, they were rough.


I have been studying Drew Struzan’s process of painting. I hoped to become a bit more detailed in my way of working. With an understanding of his process, I applied black paint to whatever areas needed it.

Then, I airbrushed transparent coats of paint on all the other areas. Another problem. I really have no idea what I am doing. Fearlessly and messily, I pushed forward. This experiment is halfway finished. Come back and see how it finished out in later entries!
 

Friday, August 15, 2014

What am I doing?

If you have ever seen me out at an event, you will most likely see me sketching. Why? Well, it keeps me busy when events get slow, and people sometimes have questions on how an artist may create a drawing. But most of all, it keeps me from getting bored. So next time you see me or another artist sketching away at an event, come over and say hi! Here is an example of a drawing I did at an event.
"My Fair Electric Lady" 18in x 24in Study of Power & Elegance. Ms. Janelle Monae

Tuesday, August 5, 2014

Moving Along


In our last post, I was telling you about the trouble of  the subjects missing hair. So I will continue to experiment with creating a hairstyle. His hairstyle will be based on his two brothers in the middle of the picture, more on that later. So, for the time being I am continuing the portrait process. So I move onto the next brother. This subject proves to be somewhat more challenging. This brother is set further back, and has a fourth of his face hidden behind another sibling. Not to mention the lines are a little softer. So it is time to fill in the blanks! Keep an eye out for our next installment.


Thursday, July 31, 2014

A little problem...

Sometimes things happen. You start working on something, and you miss a detail you should have seen. That was the case here. The brother furthest left on the picture has hair that disappears into the background. So what is to be done? Well first, ask the client for another photo from the time period. In this case, we could not get one. The client informed me her other two brothers had the same type of hair. So now we will copy the other boy's styles and try and make it look natural! Keep an eye out for the next installment!

Sunday, July 27, 2014

Vintage Family Portrait Commission!


Have you ever wondered what happens when an artist is asked to do a drawing or painting from an old photograph? Follow along, and I’ll show you when it happens to me! A woman asked me to do a drawing of her and her four brothers from the sixties! First, we asked, “What do you want? How big? Do I need to frame it for you?” Then, and only then, do we talk price. After that, I take a reference picture and place it in my “Artograph Prism Projector”. With a 30 inch x 22-1/2 inch piece of high-end drawing paper, I turned on the projector and traced out all the lines needed to start!

In the next installment, you will see me filling the faces!!


Tuesday, July 15, 2014

Hey everyone! I am setting this up!!!! Please bear with me!!!

The Philadelphia Sketch Club 157 Small Oil Paintings 2020 show

  My oil painting "Deb" was excepted into the very prestigious "The Philadelphia Sketch Club 157 Small Oil Paintings 2020 sh...